Mastering the Smoked Brisket: A Comprehensive Guide to Texas-Style Perfection
The smoky aroma, the tender pull, the rich, deep flavor… there’s nothing quite like a perfectly smoked brisket. This isn’t just a recipe; it’s a journey into the heart of Texas barbecue, a culinary adventure demanding patience, precision, and a healthy dose of passion. This comprehensive guide will walk you through every step, from selecting the right cut to achieving that coveted bark and juicy interior. Get ready to impress your friends and family with a brisket so good, they’ll be begging for seconds (and thirds!).
Choosing Your Brisket: The Foundation of Flavor
Before we even think about smoke, we need the perfect starting point: the brisket itself. A good brisket is the foundation of a great smoked brisket. Look for a well-marbled brisket, meaning it has streaks of fat interspersed throughout the lean meat. This fat renders during the smoking process, keeping the meat moist and flavorful. Aim for a brisket weighing between 12 and 15 pounds; anything smaller might cook too quickly, and anything larger might be difficult to manage on a standard smoker.
Identifying a Quality Brisket:
- Marbling: Look for a good balance of fat and lean. Too much fat can result in a greasy brisket, while too little can lead to dryness.
- Color: The meat should be a rich, dark red color. Avoid any discoloration or unusual spots.
- Texture: The brisket should feel firm and springy to the touch. Avoid anything that feels mushy or slimy.
- Source: Opt for a reputable butcher or grocery store known for their high-quality meats.
Preparing the Brisket: Trimming and Seasoning
Once you’ve selected your brisket, it’s time to prepare it for smoking. This involves trimming the excess fat and applying a generous seasoning rub. Trimming the fat is crucial for even cooking and preventing excessive grease buildup in your smoker. However, don’t trim away all the fat; you need some to render and keep the meat moist.
Trimming the Brisket: A Step-by-Step Guide
- Remove the thick layer of fat on the top of the brisket. Aim for about ¼ inch thickness.
- Trim away any excess fat or silverskin (a tough membrane) from the bottom of the brisket.
- Leave some fat on the brisket – about ¼ inch is ideal.
- Use a sharp knife for clean cuts to avoid tearing the meat.
Creating Your Signature Brisket Rub:
The possibilities are endless when it comes to brisket rubs! A classic Texas rub usually includes salt, black pepper, garlic powder, onion powder, paprika, and cayenne pepper. Experiment with different combinations to find your perfect flavor profile. Apply the rub generously to all sides of the brisket, ensuring it’s evenly coated.
The Smoking Process: Low and Slow is Key
The smoking process is where the magic happens. Low and slow cooking is paramount for tender, juicy brisket. Aim for an internal temperature of 200-205°F (93-96°C) for a 12-15 pound brisket. This will take several hours, so patience is your greatest asset.

Maintaining Consistent Temperature:
Maintaining a consistent temperature is crucial. Use a reliable meat thermometer to monitor the internal temperature of your brisket throughout the process. Adjust your smoker’s vents as needed to maintain the desired temperature. Don’t open the smoker too frequently, as this can cause temperature fluctuations.
The Importance of Smoke:
Use quality smoking wood, such as hickory, mesquite, or pecan, to infuse your brisket with incredible flavor. Adding wood chips periodically throughout the smoking process will maintain a constant smoke and flavor profile.
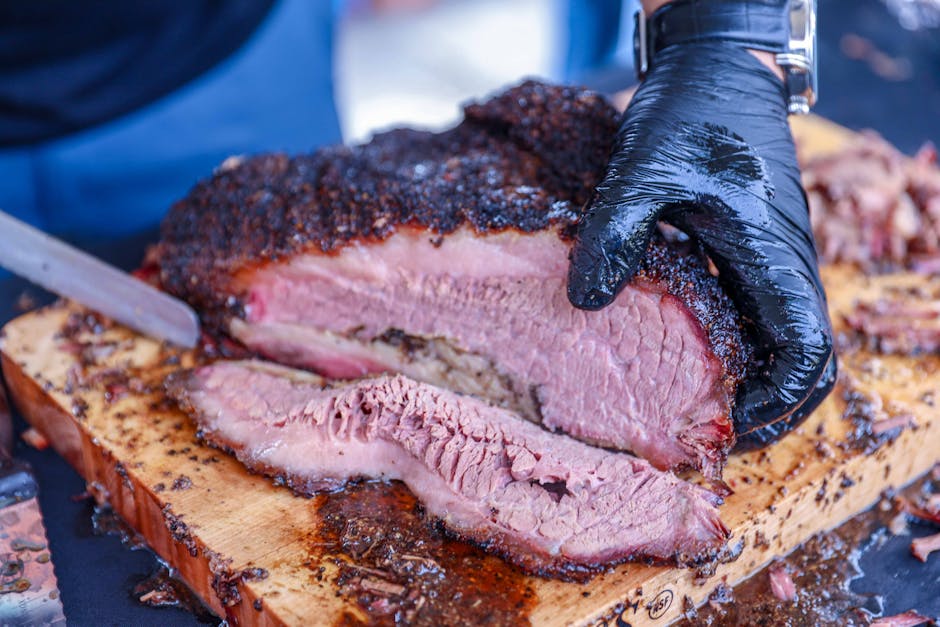
The Wrap: Achieving Maximum Tenderness
At around 160-170°F (71-77°C) internal temperature, many pitmasters choose to wrap the brisket in butcher paper or aluminum foil. This technique, often called the “Texas Crutch,” helps speed up the cooking process and creates a more tender end result by trapping moisture and steam within the wrap.
Resting the Brisket: The Final Step to Perfection
Once your brisket reaches its target internal temperature, remove it from the smoker and let it rest for at least an hour, ideally wrapped in a cooler. This allows the juices to redistribute throughout the meat, resulting in an incredibly tender and flavorful brisket. The longer you rest it the better, up to a couple of hours.
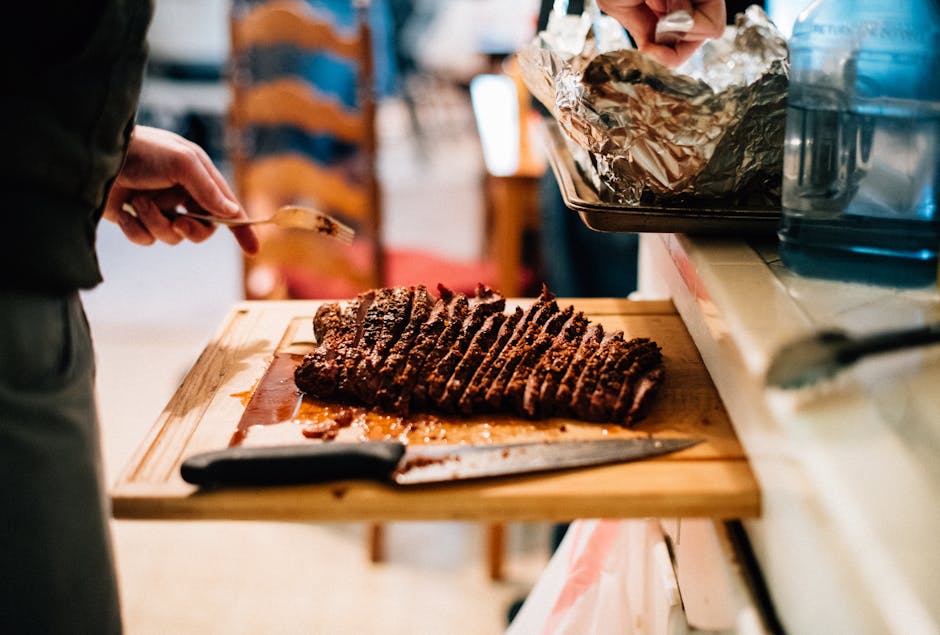
Slicing and Serving Your Masterpiece
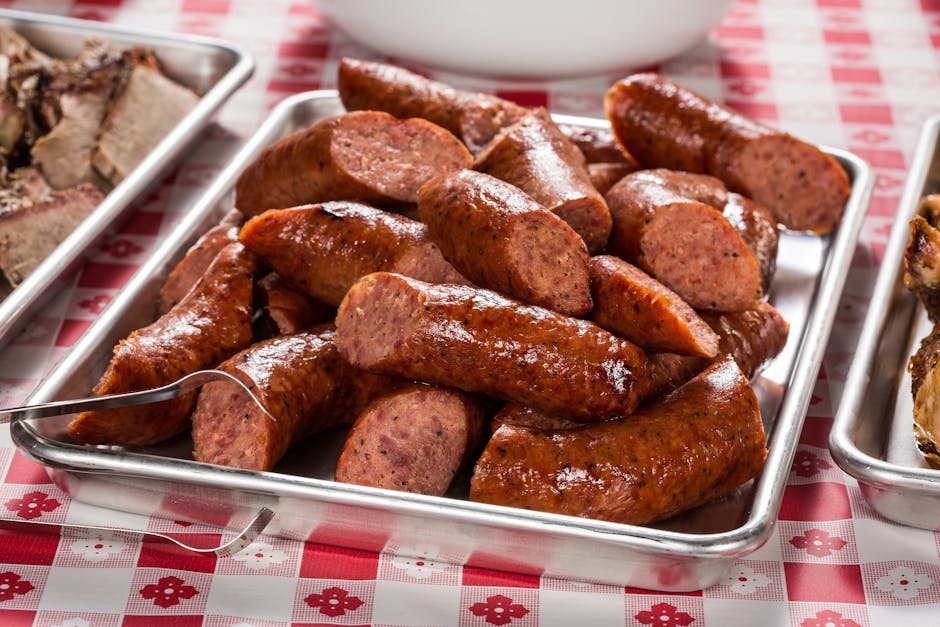
After the resting period, it’s finally time to slice and serve your masterpiece. Use a sharp knife to slice the brisket against the grain, resulting in tender, easy-to-chew slices. Serve it on its own, with classic barbecue sides like coleslaw, potato salad, or baked beans, or create an incredible sandwich. Prepare for rave reviews!
Troubleshooting Common Brisket Problems
Even with careful planning, things can sometimes go wrong. Here’s how to tackle some common issues:
Dry Brisket:
Dry brisket is often caused by insufficient fat or uneven cooking. Make sure to leave enough fat on the brisket, and monitor the temperature closely to maintain consistency.
Tough Brisket:
A tough brisket is usually the result of not cooking it long enough or at a low enough temperature. Ensure the meat reaches the correct internal temperature and rests adequately.
Conclusion: Your Smoked Brisket Journey Begins Now
Smoking a brisket is a rewarding experience that takes time and effort, but the result is well worth it. With patience, practice, and attention to detail, you can master the art of smoked brisket and create a culinary masterpiece your friends and family will never forget. So, fire up your smoker and get ready to embark on this delicious adventure!